Create Hosted zone
Here to configure for Route 53, log in to IAM AdminUser account.
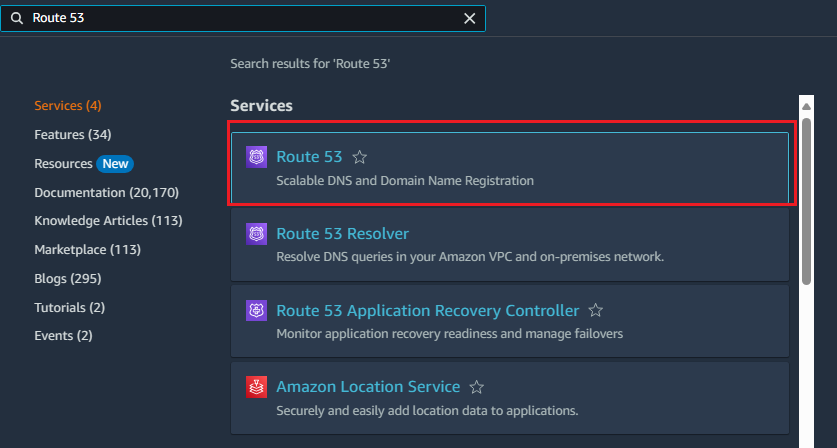
In the AWS Dashboard, click on the search bar and search for the Route 53 service.
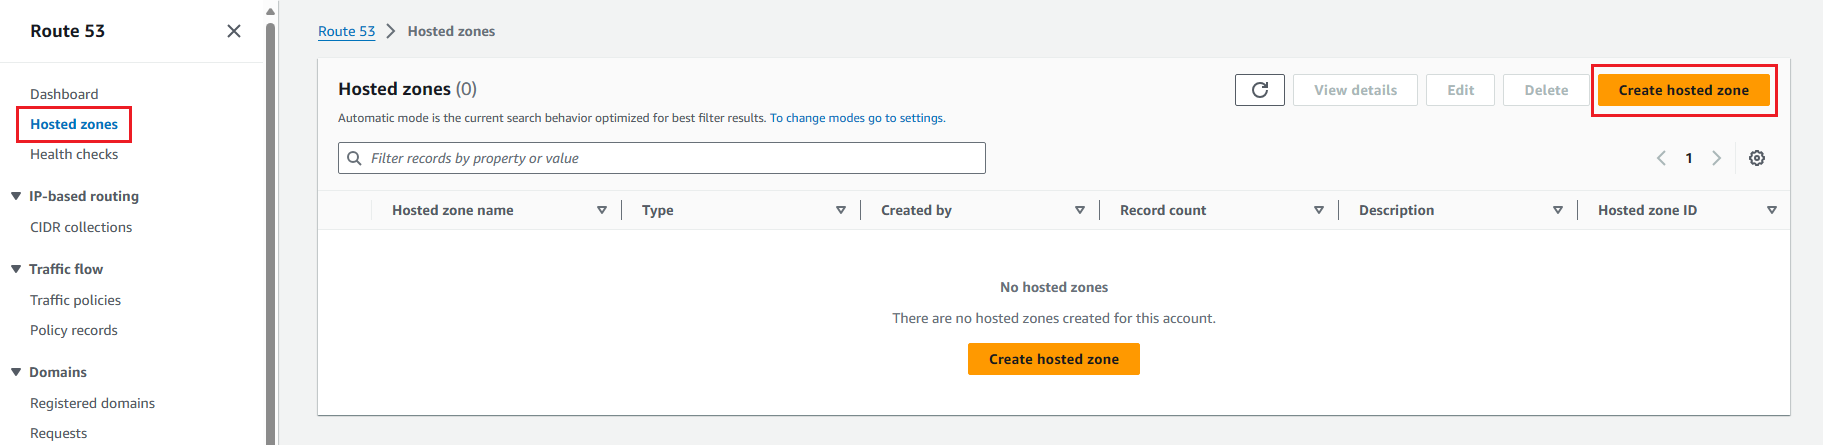
Here, we select Hosted Zone and select Create hosted zone.
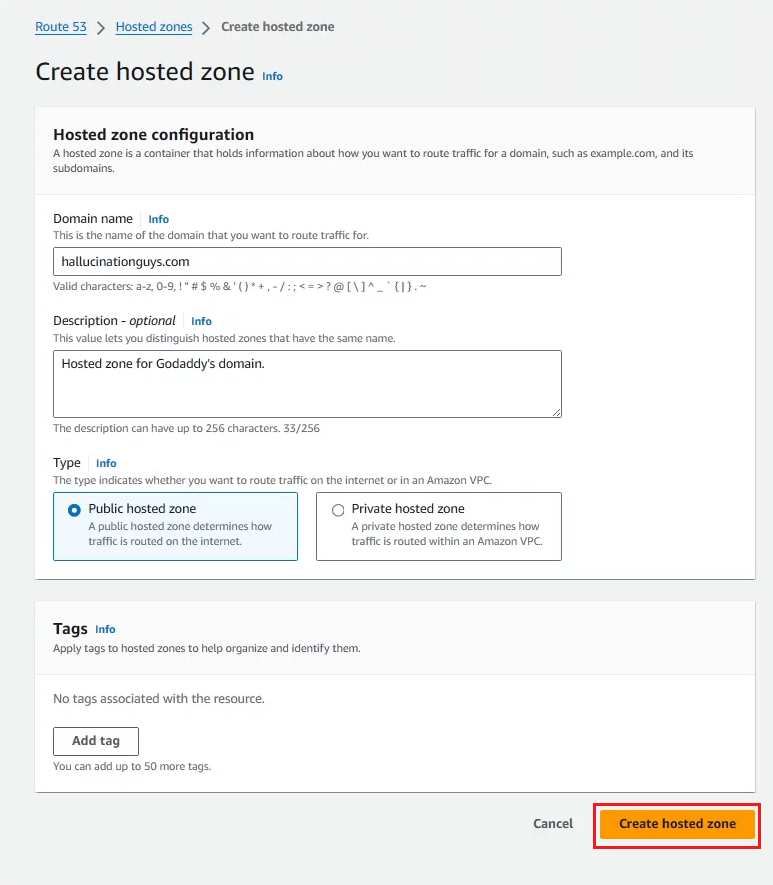
In this form, we need to enter the domain name that matches the domain name you bought at Godaddy, then select Public hosted zone.
After creating information for the hosted zone, we pay attention to Type NS (Nameserver), we pay attention to these values to configure via Godaddy.

Let’s go to Godaddy dashboard, click on the Profile of the Godaddy dashboard, then click on the domain name you own. Select the DNS tab and the Nameservers section. By default, this is Godaddy’s nameserver, we will change the nameservers of AWS Route 53 to replace the nameservers of Godaddy.
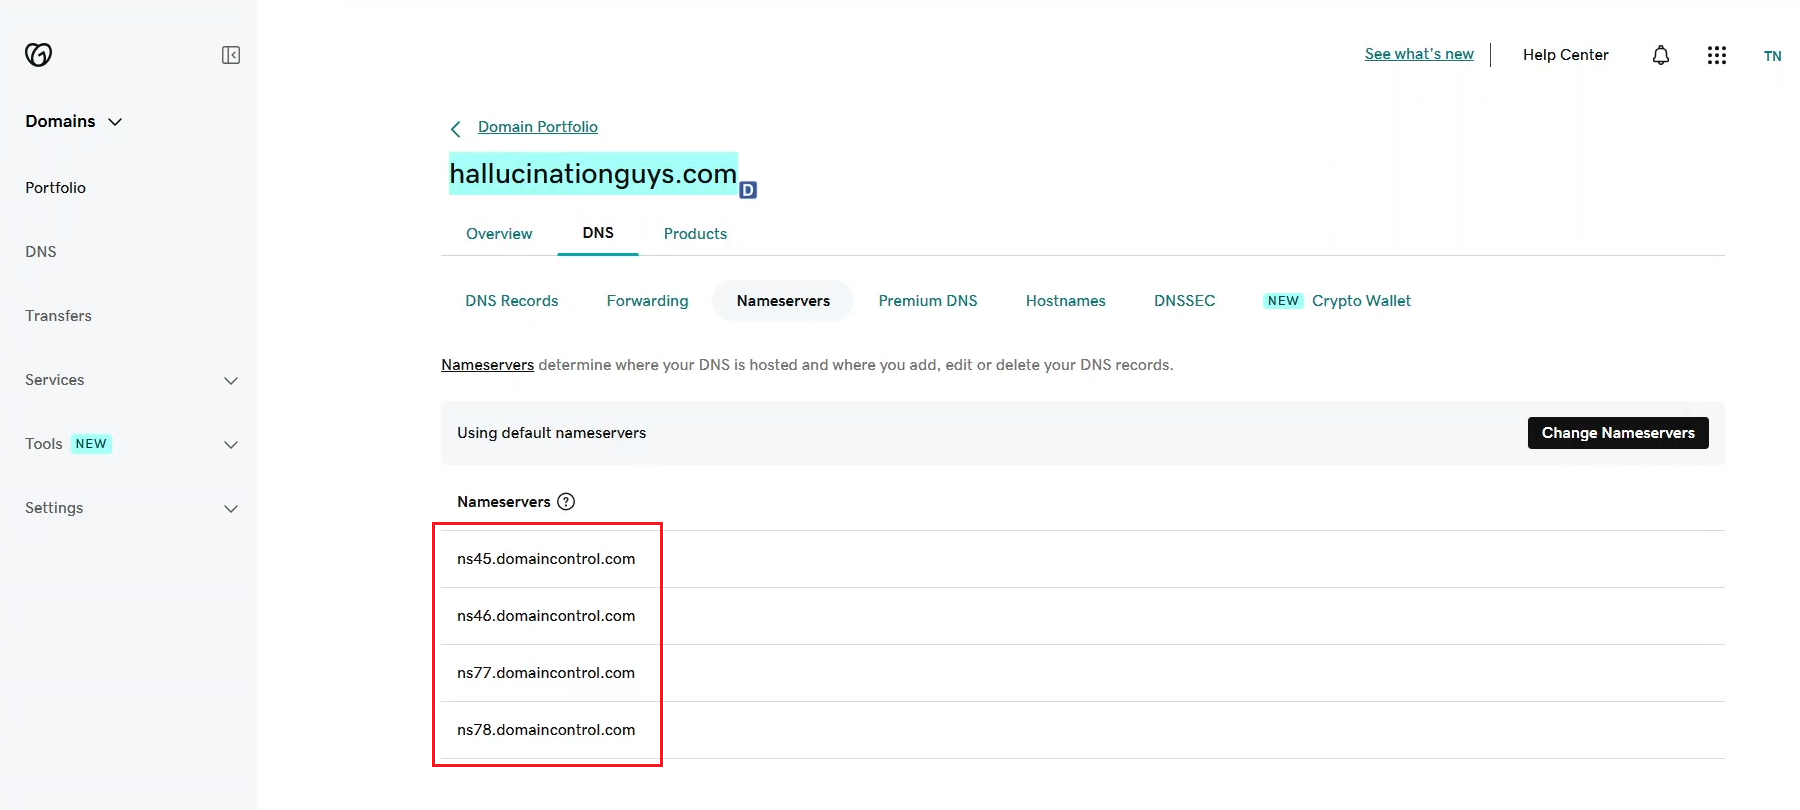
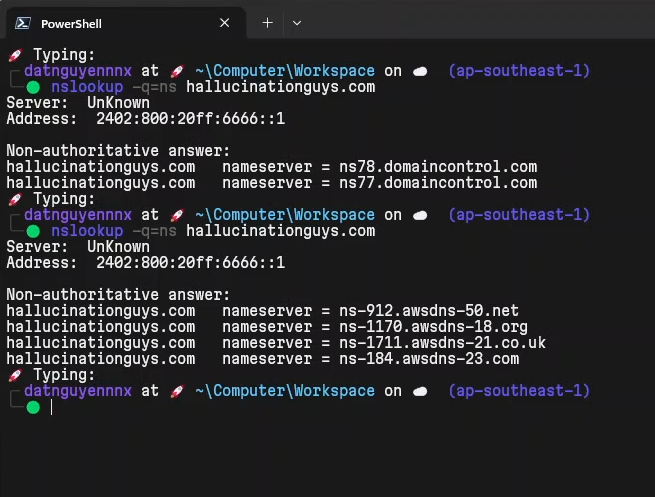
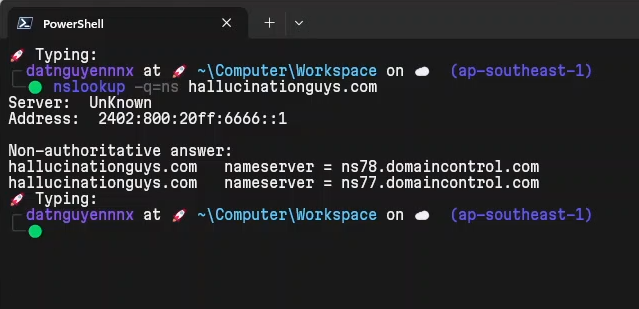
First, turn on the terminal to check which nameserver your domain is pointing to.
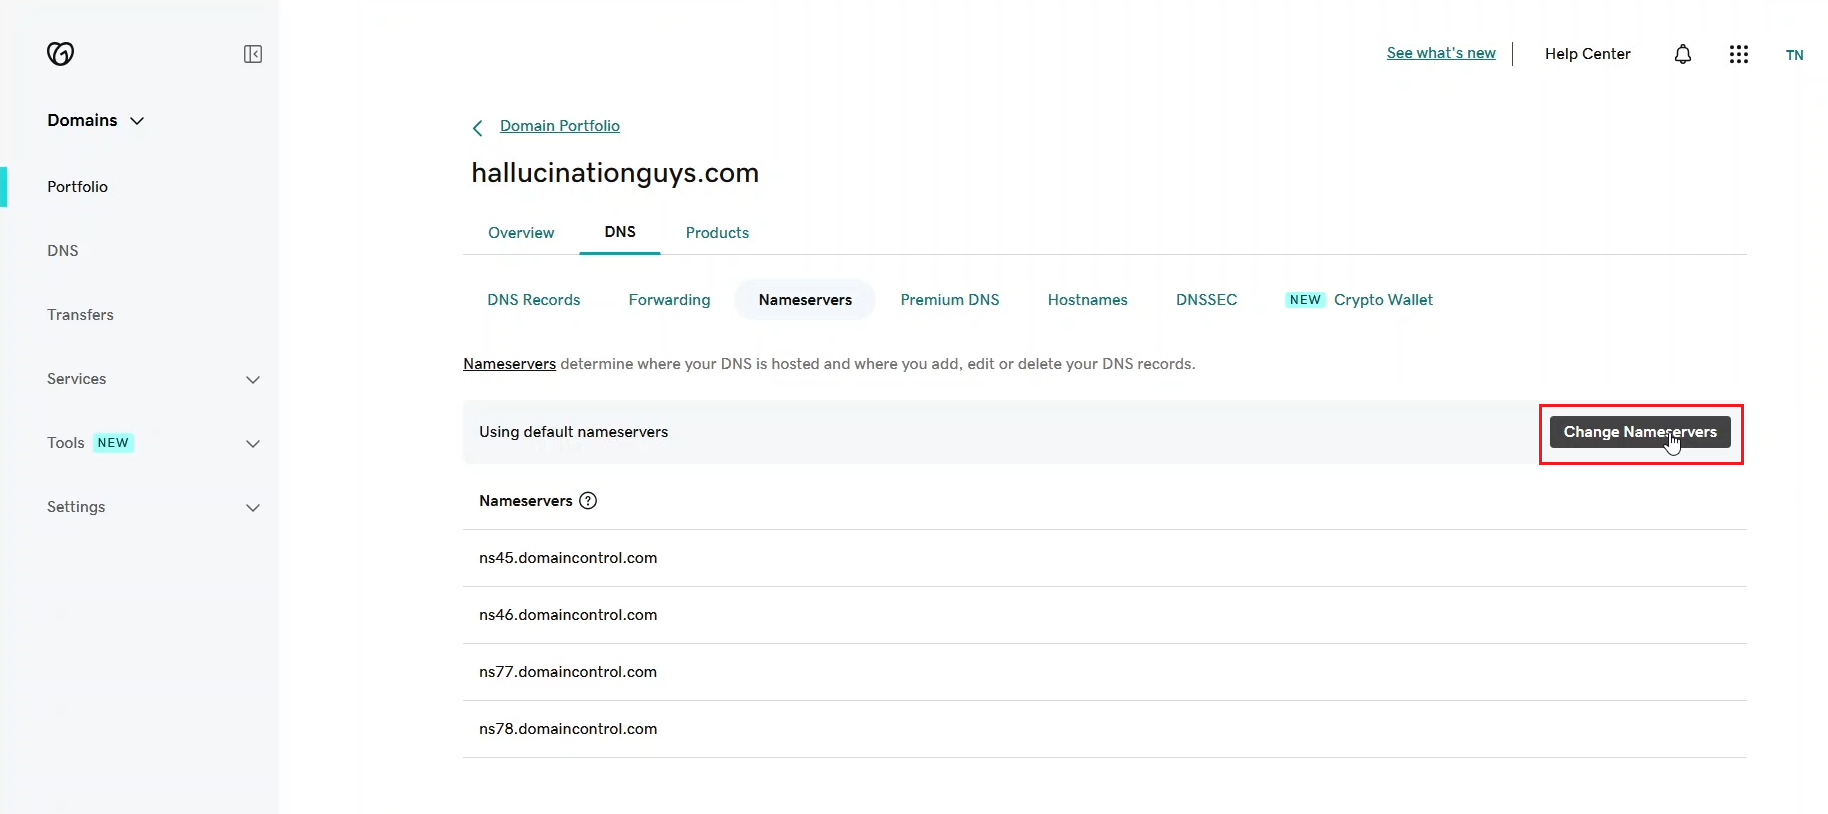
Here, we select Change Nameserver.
Select I’ll use my own nameservers. Then we’ll get all the values in the Type NS section of Route 53 to fill in each row.

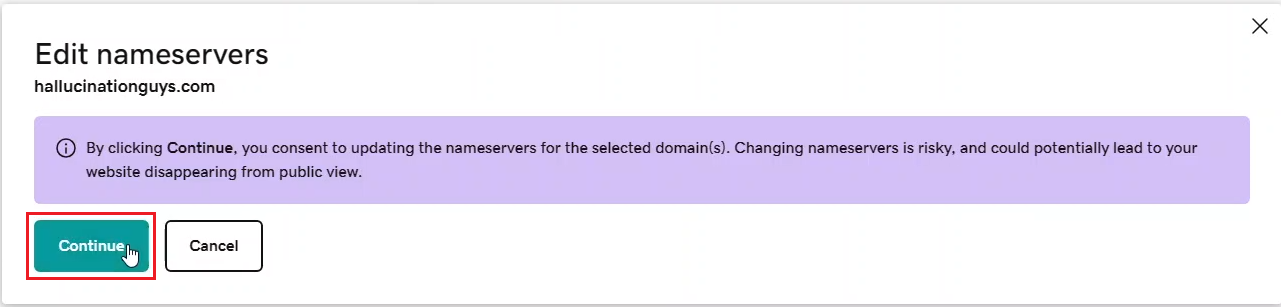
We will then confirm the use of the nameserver from 1 other party.
We will check again with nslookup -q=ns your-domain.